 mod-podge
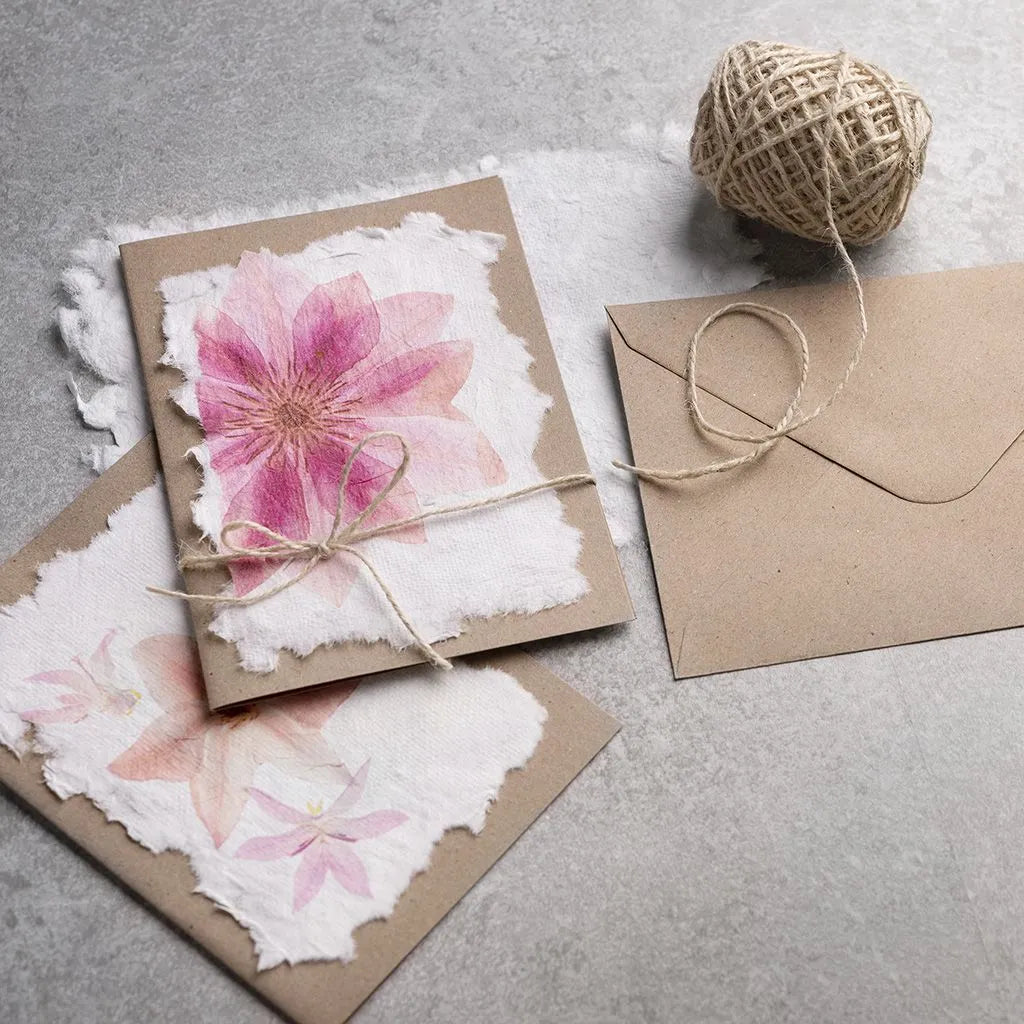
How to make handmade paper with a napkin design
Making handmade paper at home can be a fun and satisfying craft project. Here's a step-by-step guide to help you create your own handmade paper:
Materials you'll need:
- Scrap paper (newspapers, old documents, or any paper you want to recycle)
- Water
- A blender or food processor
- A large plastic basin or tub
- A wooden frame or a picture frame with a removable backing
- Fine mesh or screen (large enough to fit inside the frame)
- Sponge
- Old towels or cloths
- A rolling pin or brayer
- Optional: Dried flower petals, seeds, or other decorative elements
Instructions:
-
Prepare the scrap paper: Tear the scrap paper into small pieces and soak them in water overnight. This will help break down the paper fibers and make it easier to blend.
-
Blend the paper: Drain the soaked paper and put it in a blender or food processor. Add enough water to cover the paper, and then blend until you have a pulp-like consistency. If it's too thick, you can add more water.
-
Create a papermaking vat: Fill a large plastic basin or tub with water. Add the paper pulp from the blender and mix it into the water to create a slurry.
-
Prepare your frame and screen: Take the wooden frame and attach the fine mesh or screen to it. Ensure that the screen is stretched tightly and secured to the frame. This will be your papermaking mold.
-
Dip the mold into the slurry: Submerge the frame and screen into the paper pulp slurry, ensuring that the entire screen is covered with pulp.
-
Lift the frame: Carefully lift the frame out of the slurry, allowing the excess water to drain off. The pulp on the screen will start to form into a sheet of paper.
-
Press and dry: Place the frame on a clean, flat surface, such as an old towel. Use a sponge to press out any remaining water and flatten the paper. If you want to add decorative elements like flower petals or seeds, sprinkle them onto the paper at this stage.
-
Remove the paper: Gently peel the newly formed sheet of paper off the screen. Place it on a dry towel or cloth.
-
Dry the paper: Cover the paper with another towel or cloth and use a rolling pin or brayer to press out any remaining moisture. Leave the paper to air dry completely, which may take a day or more, depending on the thickness of the paper and humidity.
-
Finishing touches: Once the paper is dry, you can trim it to your desired size and shape. You can also decorate it further with paints, inks, or other artistic elements.
Creating handmade paper at home is a rewarding and creative process that allows you to recycle old paper while making something beautiful and unique. Experiment with different types of paper and additives to create your custom handmade paper creations. Enjoy the satisfaction of crafting something from scratch!